Virtual ARTstops
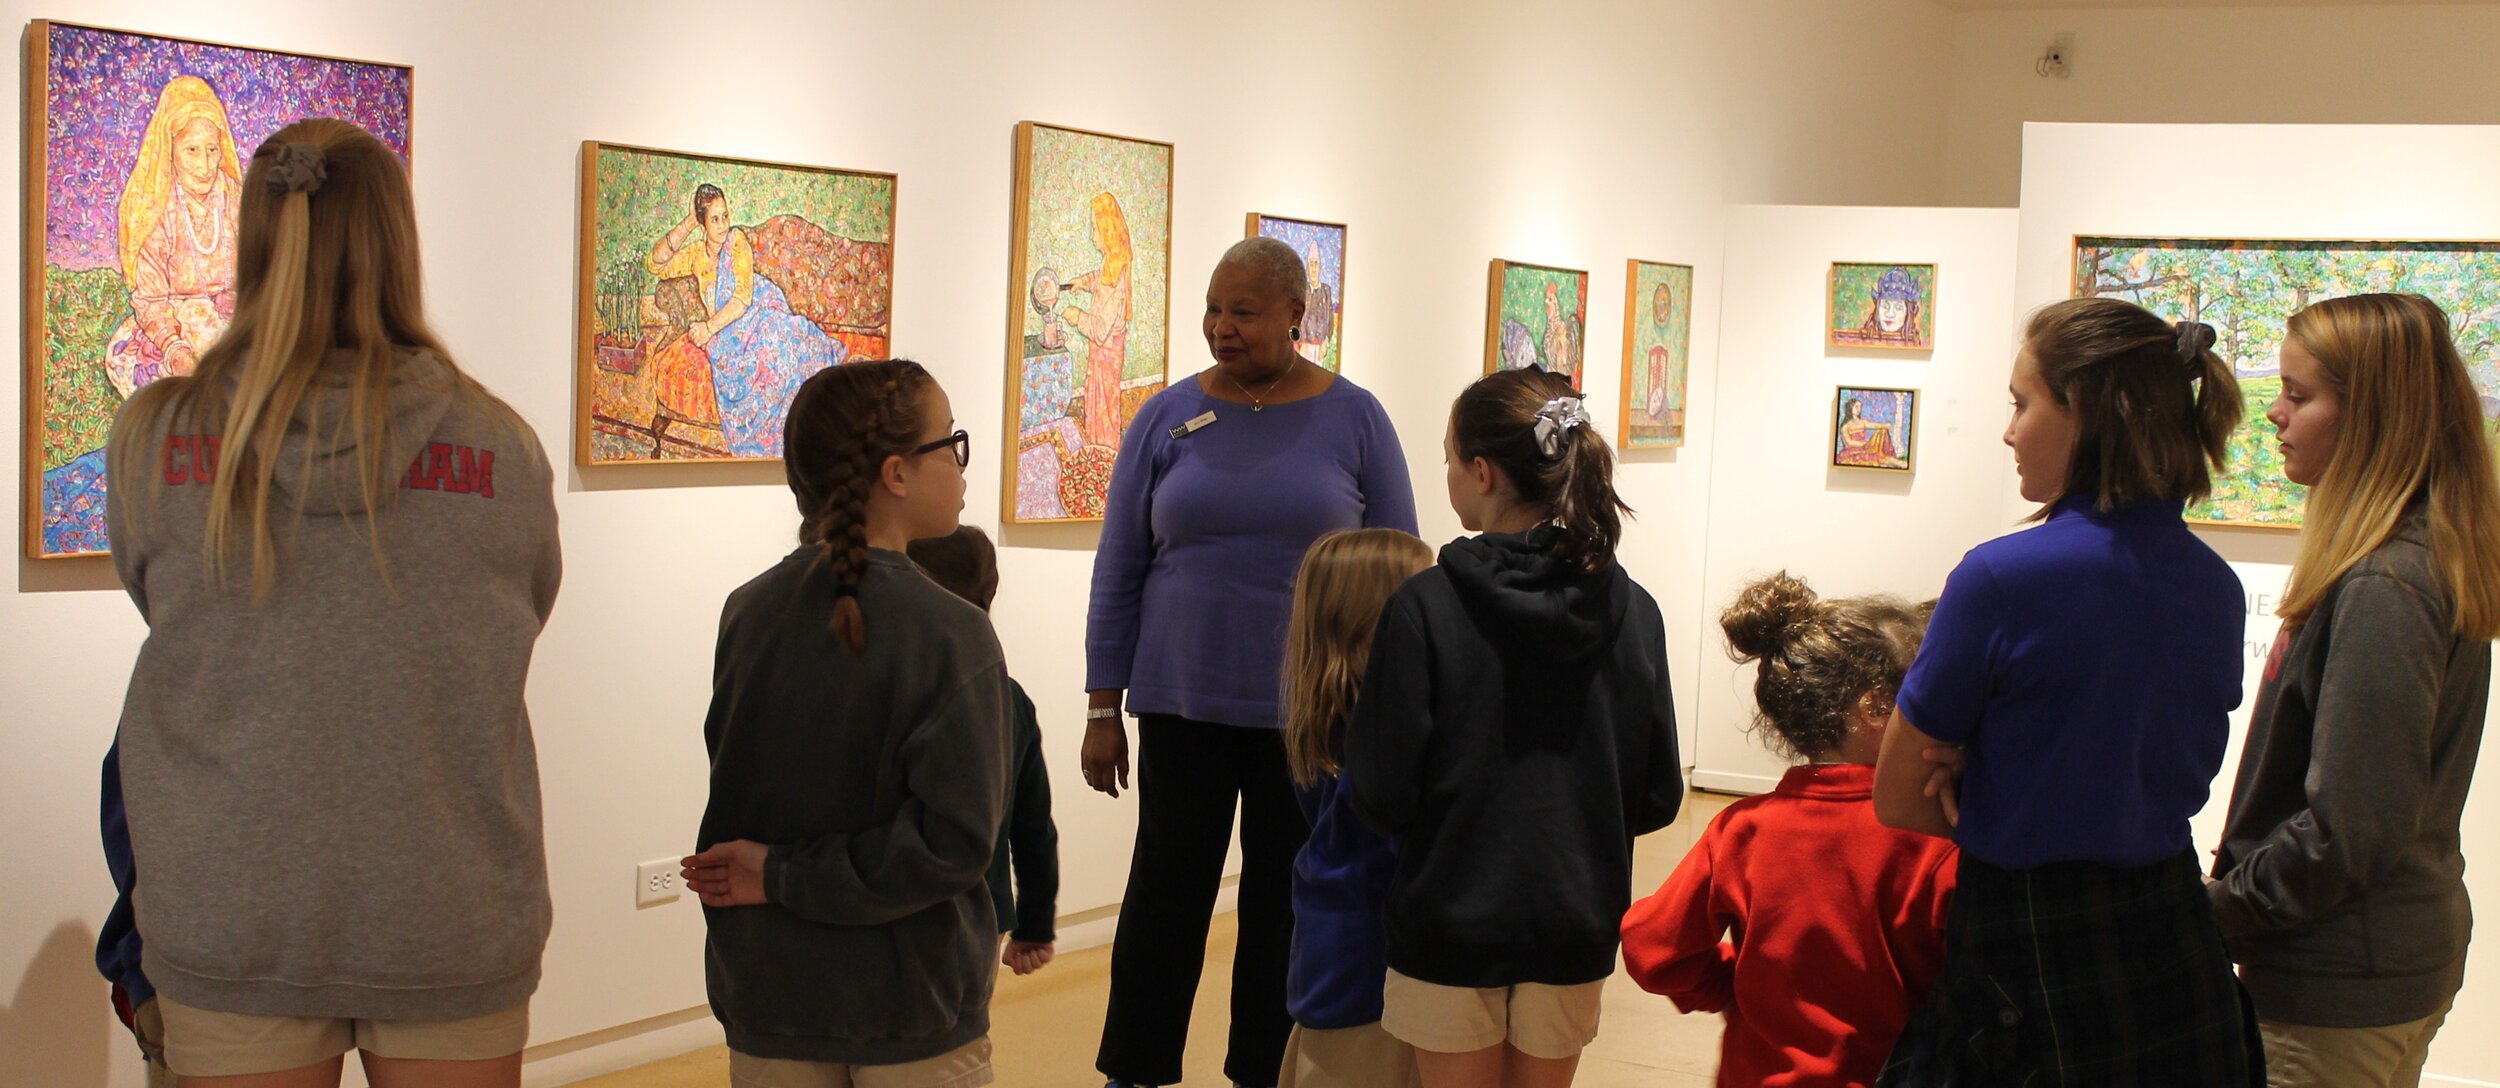
The 5th Grade ARTstops Program provides for all 5th grade students in the Rowan-Salisbury Public School System, as well as Private, Independent and Home School students, to visit Waterworks as part of their formal curriculum. While in the Museum, students take a docent-led gallery tour and also participate in a hands-on art activity that is inspired by the work of one of our exhibiting artists.
ARTstops Reimagined
At the same time in-school learning had to be reimagined as virtual learning, Waterworks responded with a series of Virtual ARTstops. Now any age student can engage in exhibition-inspired creative projects at Waterworks.
Below you will find VIRTUAL art projects inspired by the three exhibiting artists of
CREATIVE HABITATS
CREATIVE HABITATS Virtual ARTstop #1
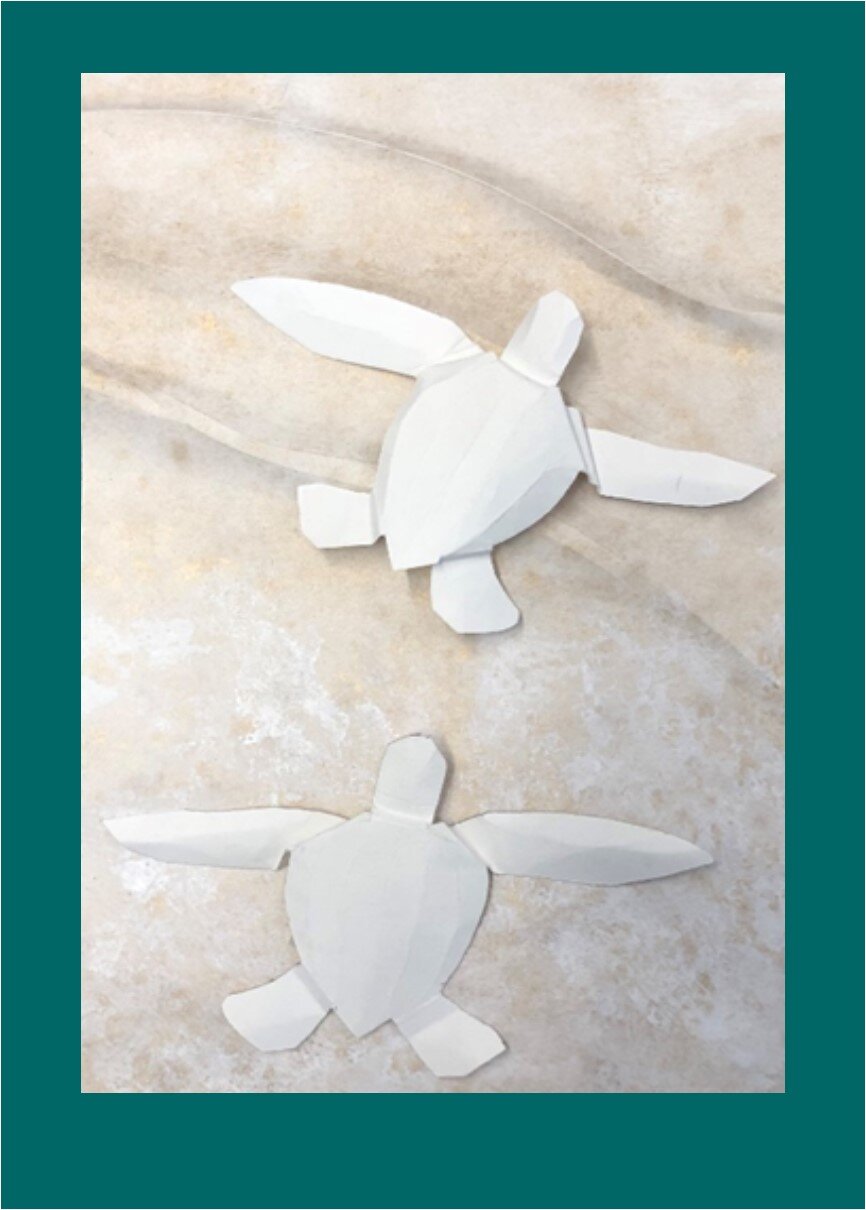
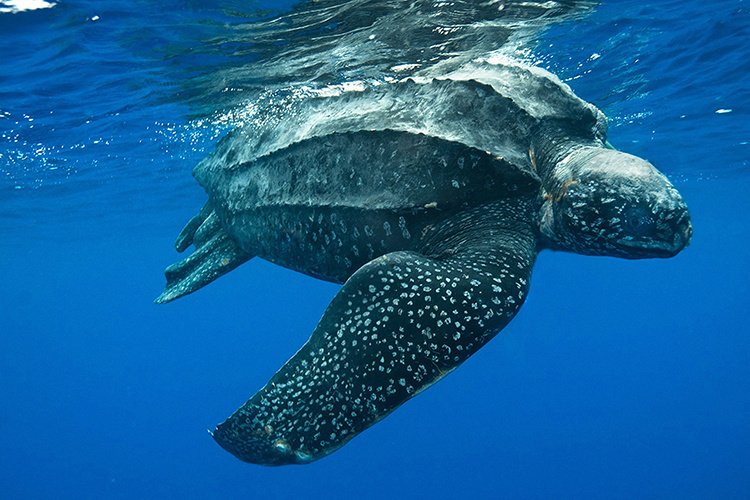
Leatherback Sea Turtle Paper Sculpture
Inspired by artist/photographer LORRAINE TURI’s exhibition, Last Seen
Imagine it.
Click on turtles below to watch the project video.
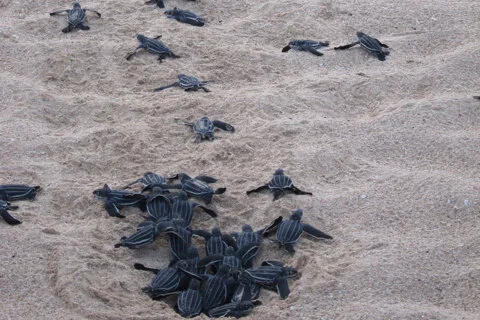
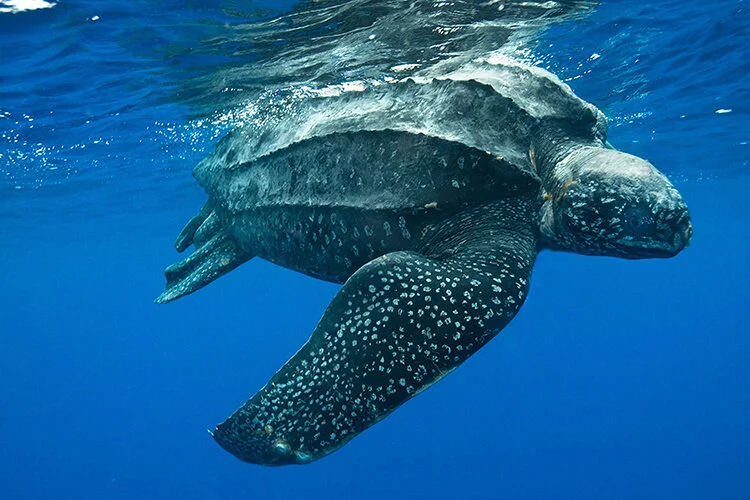
Leatherback sea turtles have existed in their current form since the age of the dinosaurs!
Leatherback Turtle Photos & Facts Source: https://www.fisheries.noaa.gov/feature-story/10-tremendous-turtle-facts
Assemble it.
Click on this TEMPLATE to print from your computer.

TOOLS AND MATERIALS NEEDED
Most of these items can be purchased, or substituted with what you have on hand. Substitutes are listed in parentheses next to each item.
· Pencil Scissors White Glue (glue stick)
· Bone Tool (small dinner knife)
· Ball Stylus (small spoon)
· Foam Sheet (magazine, newspaper or dishcloth
· ½ sheet medium-weight white drawing paper (copy paper/poster paper will work)
· Turtle Template (see downloadable pdf file, above)
· ½ Sheet Background Paper (painted poster board or cardboard)
Leatherbacks are highly migratory, some swimming more than 10,000 miles a year between nesting and foraging grounds. They are also accomplished divers with the deepest recorded dive reaching nearly 4,000 feet—deeper than most marine mammals. They have spiny “papillae” lining their mouth and esophagus—these spines help them trap and consume their main prey species, jellyfish.
For more information about the artists featured in this project and to learn more about the North Carolina Zoo and North Carolina’s endangered/at-risk species, visit these websites.
Lorraine Turi, Artist http://www.lorraineturi.com/
Calvin Nichols, Artist https://calvinnicholls.com/
U.S. Fish and Wildlife Service https://www.fws.gov/raleigh/es_tes.html
North Carolina Zoo, Asheboro https://www.nczoo.org/
Make it.
PROJECT INSTRUCTIONS:
Fold your heavy-weight sheet of paper in half
Place turtle template on top and trace turtle outline onto the paper
Using scissors, cut out turtle shape (should have two turtles when complete)
Score the head, neck, flippers and shell with bone tool (see example)
Accordion fold the neck and flippers along the scored marks (as shown). This will give the illusion of the head and flippers emerging from underneath the shell.
Gently fold along the scored lines on the turtle’s back and head to give the turtle dimension
Place the turtle underside up on the foam sheet. With the ball stylus, gently rub to contour each of the turtle’s four flippers. If you feel adventurous, you can use the stylus to pattern the turtle’s shell.
Set your completed turtles aside.
BACKGROUND
Grab your background paper.
Turn paper on its backside and score three curved lines to resemble shoreline ripples.
Flip paper back over and crease along the scored lines.
Place your turtles in your desired location on your background.
Once satisfied, place a tiny dot of glue on each of the four flippers to adhere the turtles to the “sand.” Hold down the flippers for 10 seconds (to the count of 10).

CREATIVE HABITATS Virtual ARTstop #2
When a Line Becomes a Sculpture
Inspired by artist ADAM WENSIL’s exhibition, Off Kilter
A continuous line sculpture is made of one continuous piece of wire.
Imagine it.
Click on lion to watch the project video.


Assemble it.
TOOLS AND MATERIALS NEEDED:
6 feet- 16 gauge aluminum wire
pencil
drawing paper or printed template
tape
flatnose or needlenose pliers
wire cutters
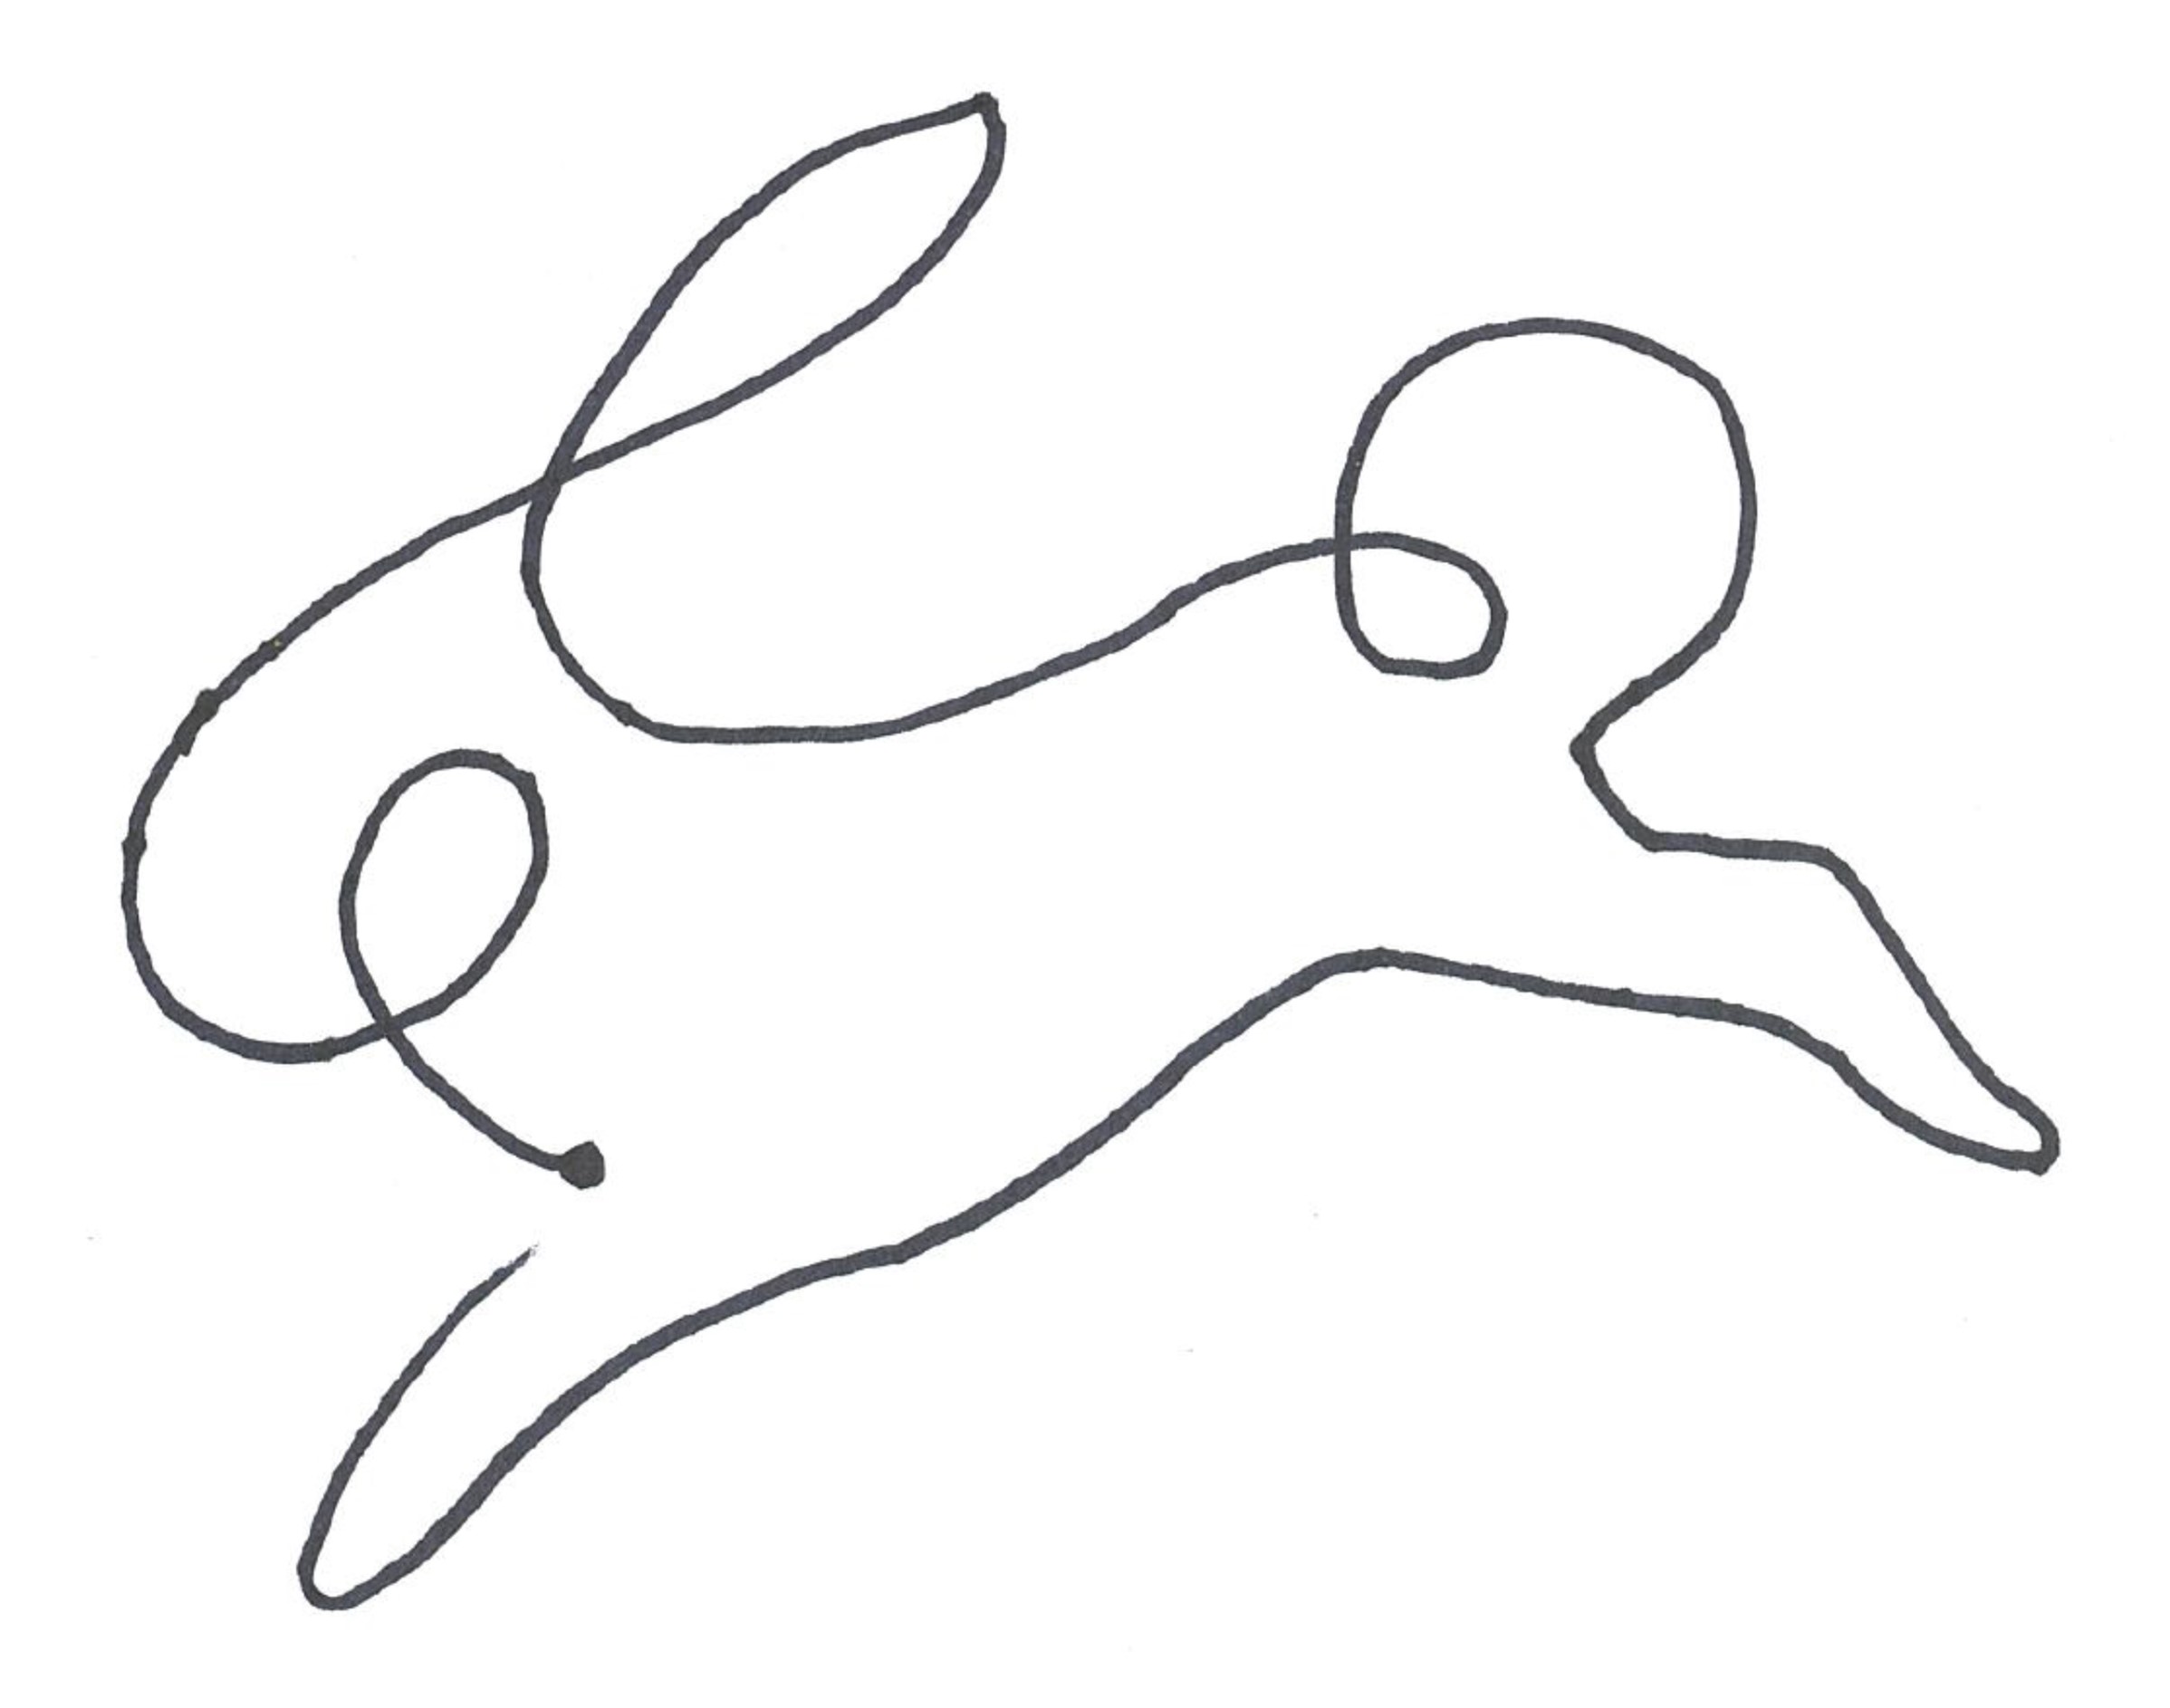
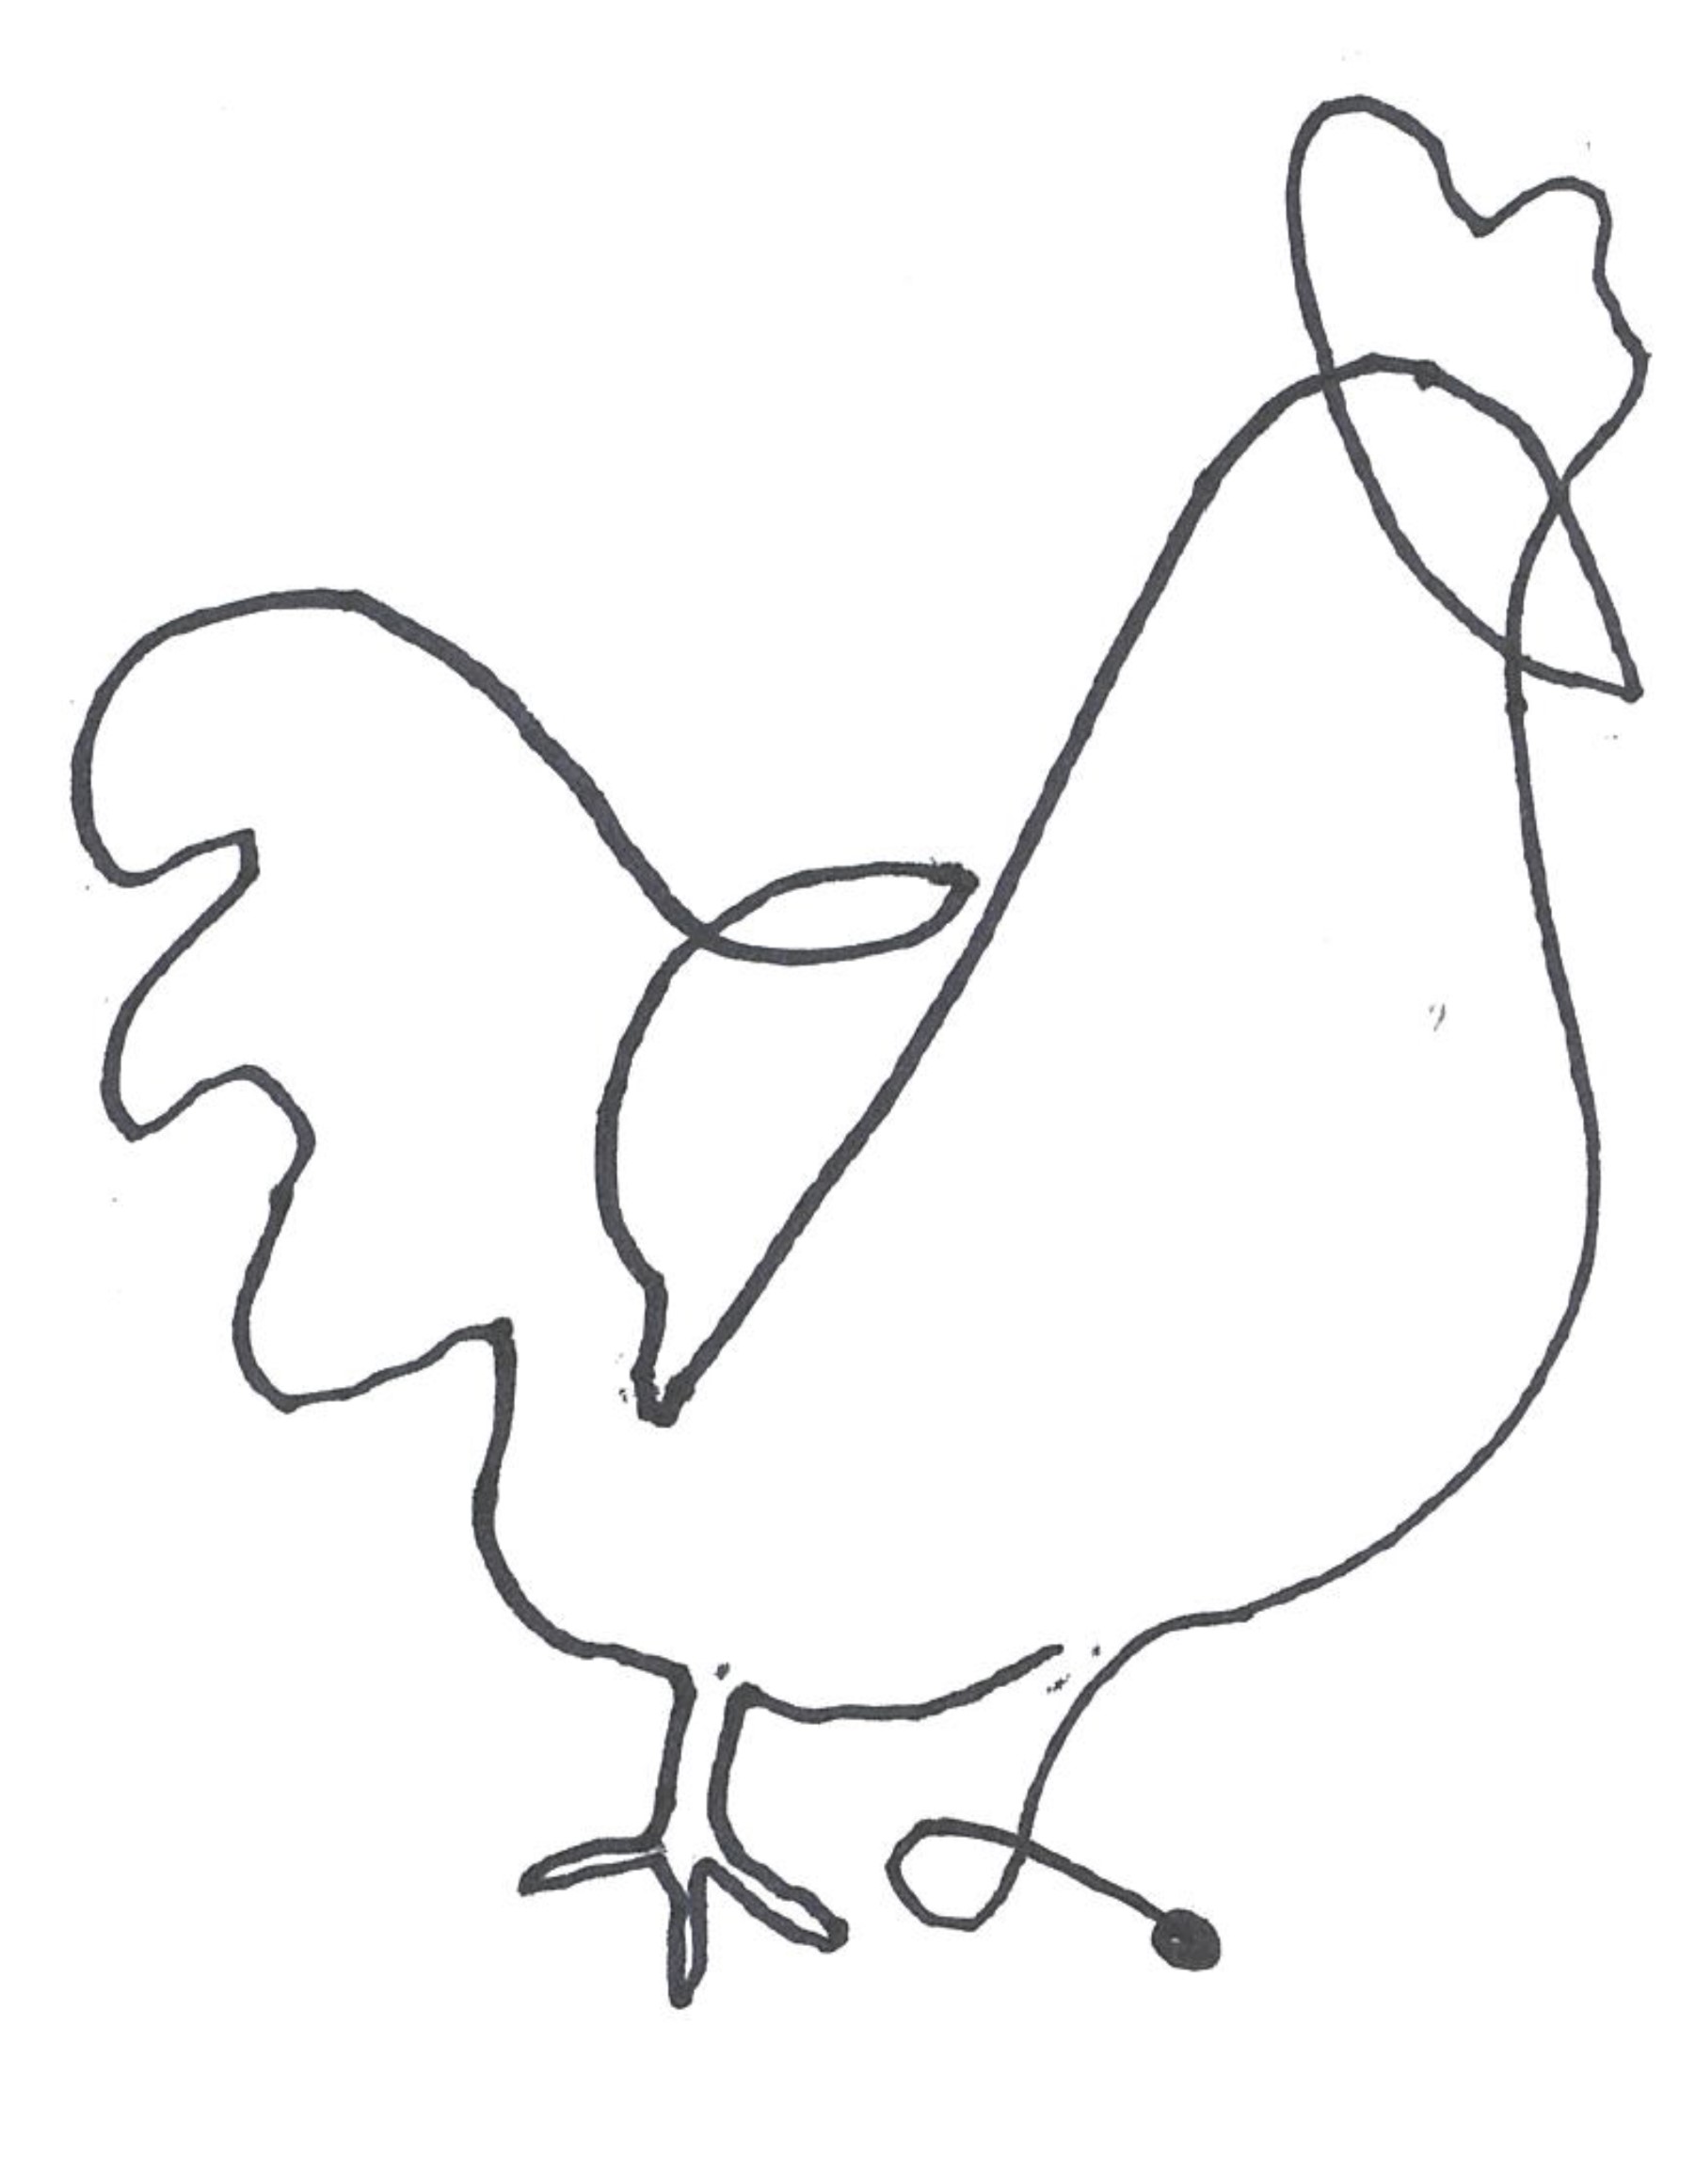
CHOOSE ONE OF THESE 4 TEMPLATES (click image to print), OR DRAW ONE OF YOUR OWN.


Make it.
PROJECT INSTRUCTIONS:
Step 1: Make a continuous line drawing.
You may download one of the drawings provided or make your own drawing.
What is a continuous line drawing?
The line in a continuous line drawing is unbroken from the beginning to the end. The pencil, crayon or marker stays on the paper the whole time the artist is drawing. Once the pencil touches the paper and the artist starts a line, the pencil stays on the paper until the end of the line.
Step 2: Starting at the dot (•), trace your drawing with one continuous piece of wire.
(The lion drawing provided by Waterworks will need about 72 inches of wire.)
Trace the lion’s body beginning with the tail
Tape the end of the tail to your paper to keep it in place
Trace the back legs
Trace the lion’s back
Trace the front legs
Trace the neck and stop
Step 3: Trace the face
The lines of the lion’s face will require skill and concentration. Tape the front legs and the lion’s back to the paper before starting the face so they will not move while working on the face.
· Arrange the parts of the face
Trace side of the face
Twist and turn the wire into a figure 8 for the eyes
Twist and turn the wire into a circle for each ear
Twist and turn the wire into a figure 8 for the mouth
Trace across the nose
Pull the wire to the side of the face to trace the lion’s mane
Step 4: Use the wire cutters to clip extra wire and twist extra around the neck. Remove the tape and lift your sculpture from the paper.
Step 5: Make your sculpture 3 Dimensional
Your sculpture can remain flat or 2-dimensional, but you can also make it stand or 3-dimensional.
Remove all tape and lift your sculpture from the paper
Hold the lion’s back and twist the hind legs and adjust
Wrap the tail around the hind legs to help the sculpture stand
Twist the front legs and adjust until the lion stands up
Is Linus a drawing?
Is he a sculpture?
Or is he both?
CREATIVE HABITATS Virtual ARTstop #3
How Wire and Found Objects Become Sculpture
Inspired by artist ADAM WENSIL’s exhibition, Off Kilter
What is a continuous line drawing?
The line in a continuous line drawing is unbroken from the beginning to the end. The pencil, crayon or marker stays on the paper the whole time the artist is drawing. Once the pencil touches the paper and the artist starts a line, the pencil stays on the paper until the end of the line.
Imagine it.
Click on cats to watch the project video.

Assemble it.
Click the CAT image to print from your computer.

TOOLS AND MATERIALS NEEDED:
36 inches, 16 gauge aluminum wire
cork or other found material for the body
pencil
drawing paper
tape
awl, nail or pushpin
needle nose or flat nose pliers
wire cutters
Make it.
PROJECT INSTRUCTIONS:
Step 1: Make a continuous line drawing of your animal’s face. NOTE: You may use the cat drawing above and use the same objects we used or make your own drawing and use other objects to design your sculpture.
Step 2: Trace drawing of your animal’s face with one continuous piece of wire.
Tape one end of the wire to the drawing of the face so it will stay in place.
Beginning with the neck, trace the animal’s whole face then stop at the neck
Use the wire cutters to remove extra wire, then twist end of wire around the neck.
Remove the tape and lift the head from the paper.
Step 3: Make the legs and tail.
Cut 4 pieces of wire (about 4 inches) for the legs
Use the needlenose pliers to twist one end of the wire to make the feet
Cut a piece of wire (about 5 inches) for the tail
Step 4: Assemble the parts into a sculpture
Use a pencil to make a small dot on the cork to mark where you will place the head, make a dot for each leg and a dot for the tail
Use an awl or a nail to make holes in the cork (Ask your parent or guardian to help you with this step
Push the wire parts into the hole on the cork
Twist and adjust the legs so your sculpture stands up.
CREATIVE HABITATS Virtual ARTstop #4
How Wire and Found Objects Become Figurative Sculpture
Inspired by artist ADAM WENSIL’s exhibition, Off Kilter
What is a figurative sculpture? Figurative art uses the human body for inspiration. Our figurative wire sculpture is a sculpture of the human body.
A wire and found object Sculpture is a sculpture made of wire and other things found in and around your world. The objects may have special meaning or they may be interesting miscellaneous items.
Imagine it.
Click on the figurative sculpture below to watch the project video.


ALTERNATIVE POSES: click on image to print & use.

Click image to print from your computer.
Assemble it.
TOOLS AND MATERIALS NEEDED:
50 inches-12 gauge aluminum wire
Feathers
Beads and Baubles
Straws
Pencil/Marker
Drawing paper
Cardboard
Scissors
Tape
Glue
Needle nose or Flat nose pliers
Wire cutters
NATURAL MATERIALS
Seashells
Rocks/Stones
Pieces of wood
Sticks

Example: Young Boy by ADAM WENSIL

Example: Jenny by ADAM WENSIL
Make it.
PROJECT INSTRUCTIONS:
*Make sure your parent or guardian agrees with you about the objects chosen and how you can use them to build your sculpture.
Use this activity for inspiration or use your own creativity to create your sculpture
Step 1: Make a simple stick figure drawing of human poses.
Think of the kind of activity you like to watch (sports, dance, martial arts, and/or gymnastics)
You may use the same pose used on our website or make your own drawing, or use other poses to design your sculpture (you may find a sampling of different poses on our website).
Gather objects you might use as you build your sculpture
Step 2: Use cardboard to make a body
Cut a piece of cardboard 3 inches wide x 8 inches long
Score the cardboard and fold in half
Draw a diagonal line from the corner of the cardboard to the fold, (½ inch from the side edge) and cut the diagonal line to make the hour glass shape used for the body
Step 3: Make 2 coils (One for the legs and one for the arms)
Cut 2 pieces of wire (about 24 inches) for the legs and the arms
Use a pencil, or marker as a cylinder and wrap the wire around it
Pull the pencil out once entire piece of wire has been wrapped around it
Stretch the coiled wire until it is 15 inches long and fold it in half
Step 4: Add the legs to the body
Unfold the cardboard and place a wire coil on the fold
Stretch the wire on top of the cardboard into a straight line then fold the cardboard in half
Step 5: Add the head to the body
· Add wire to the earring for the neck
· Push the wire neck into the top of the cardboard
Step 6: Add the arms to the body
Place sculptures body in the middle of the stretched coil
Loop and twist the wire once around the neck
Drape and position the wire over the shoulder
Step 7: Glue decorations to body
*If you use the glue gun, ask your parent or guardian to help you with this step
Step 8: Attach the scepter to the arm
Twist the end of a wire arm around the scepter (paint brush) then position
Step 9: Mount the sculpture on the cardboard base
Twist and adjust the legs so your sculpture stands up.
Bend the legs to make feet
Place the feet on a cardboard base and glue to the cardboard
CREATIVE HABITATS Virtual ARTstop #5
Natural Interactions
Virtual Printmaking Activity
Inspired by artist ALIX HITCHCOCK’s exhibition, Natural Interactions
What is a Monotype?
A monotype is an image that can only be printed once, unlike the other forms of printmaking that allow an artist to make many copies of the same image. The artist will roll ink or paint onto a smooth surface like plexiglass, a metal plate or a Gellie plate and may use a variety of objects and stencils to create a unique one of a kind composition. The artist will then transfer the image by rubbing it by hand or with a Barren or even a spoon instead of a press.
Imagine it.
Click on the beetle below to watch the project video.

Click on a Stencil or Template below, and print it out, or draw and cut out your own design.

Salamander Stencil
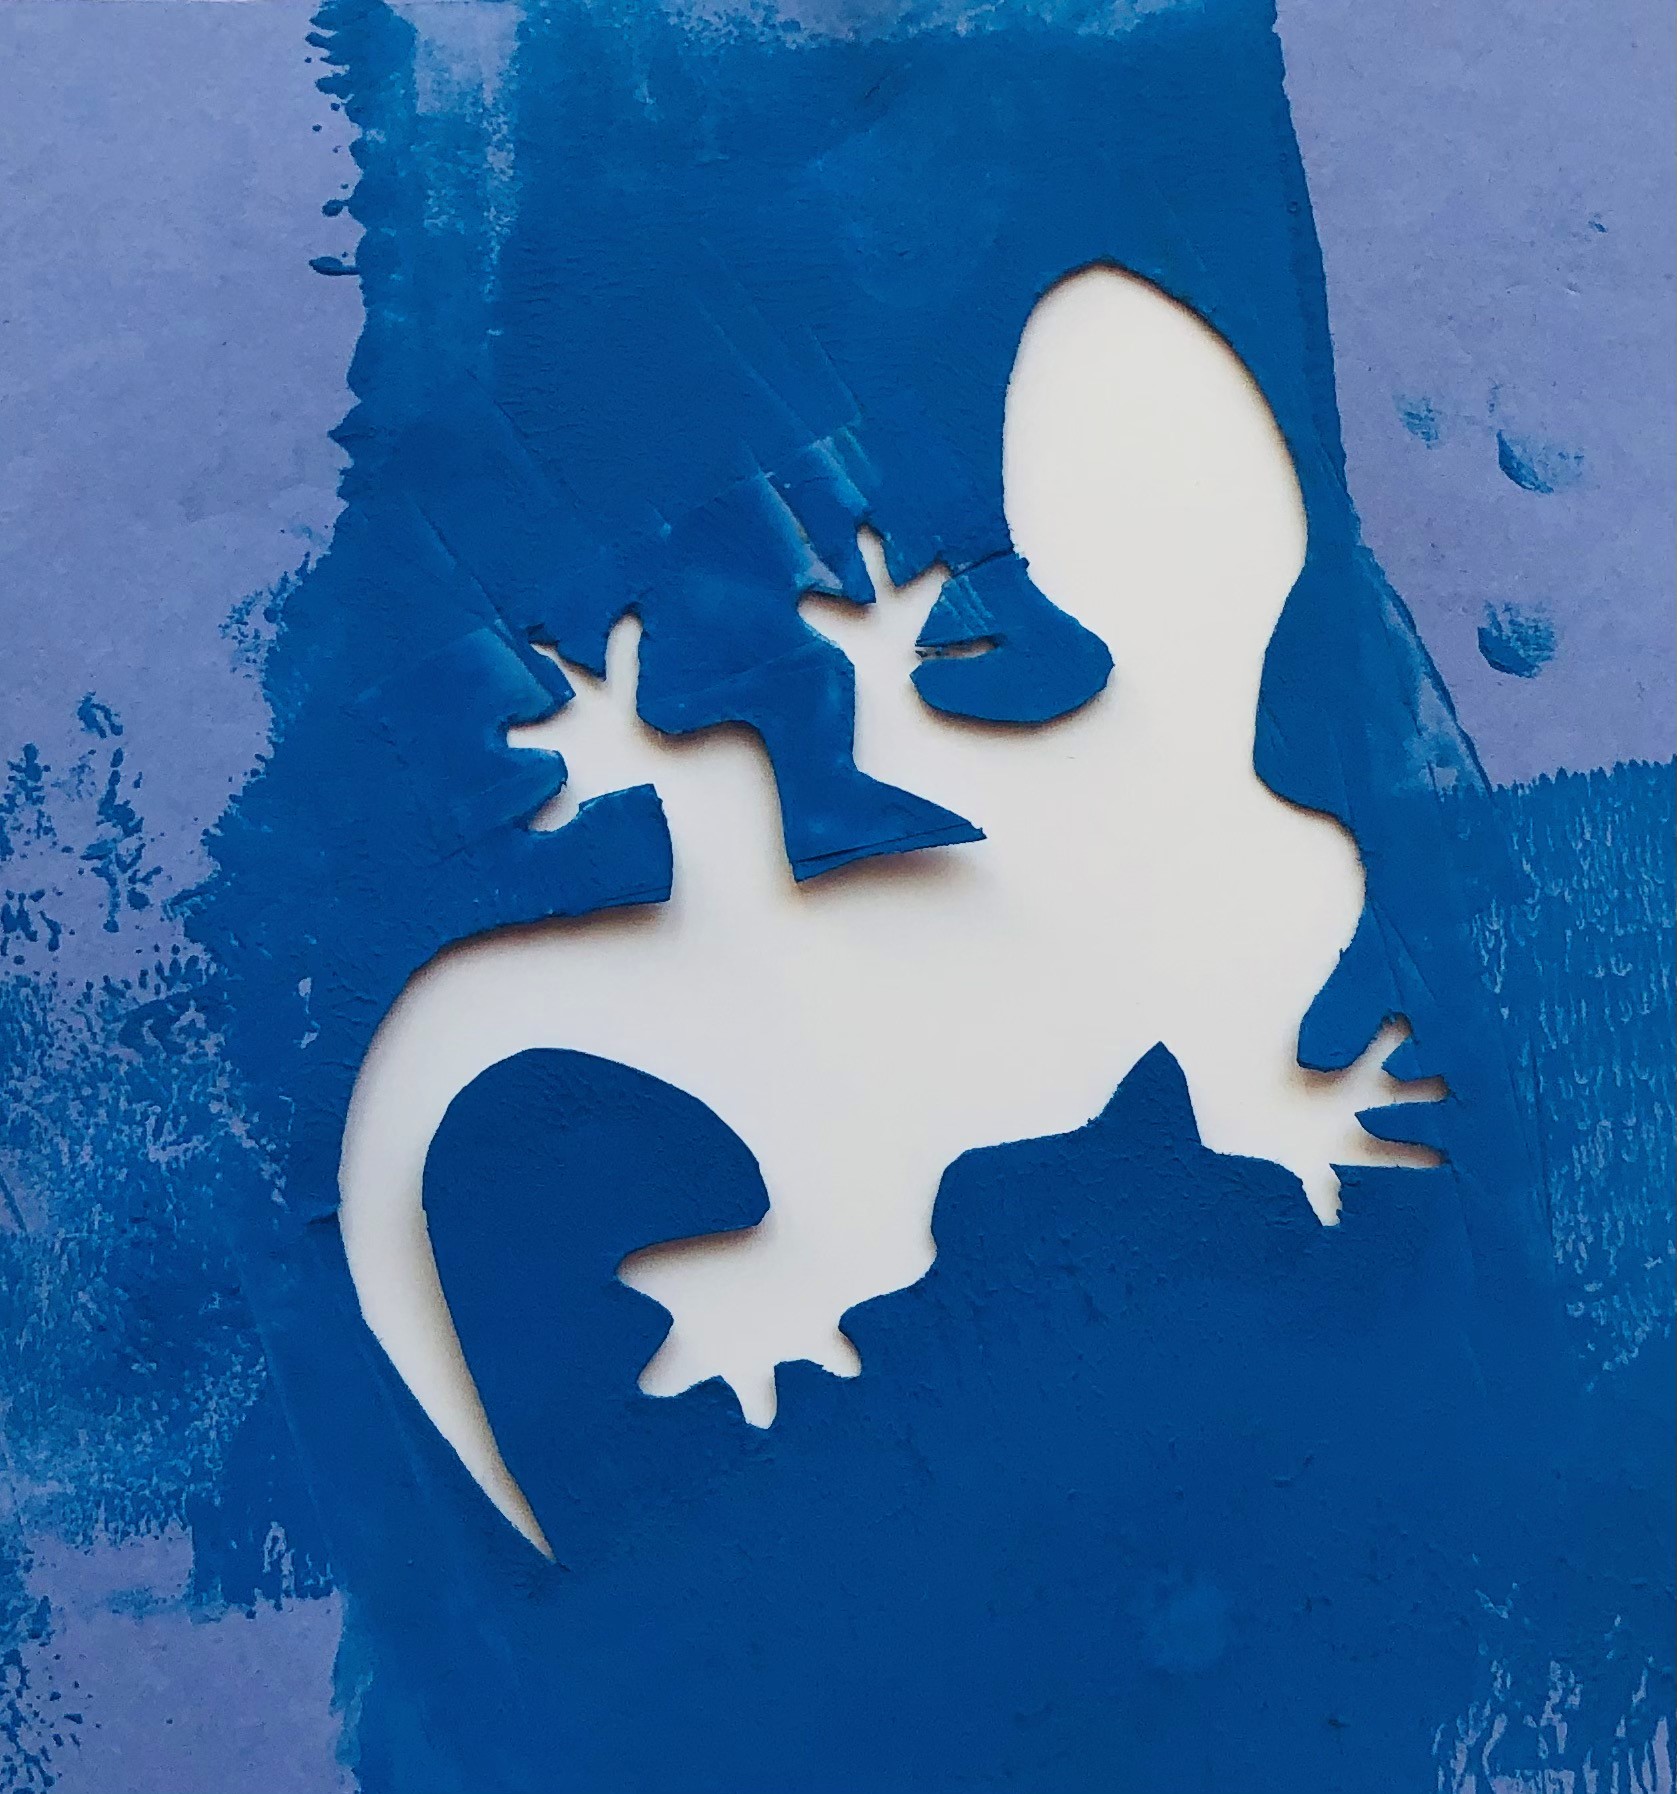
Salamander Template
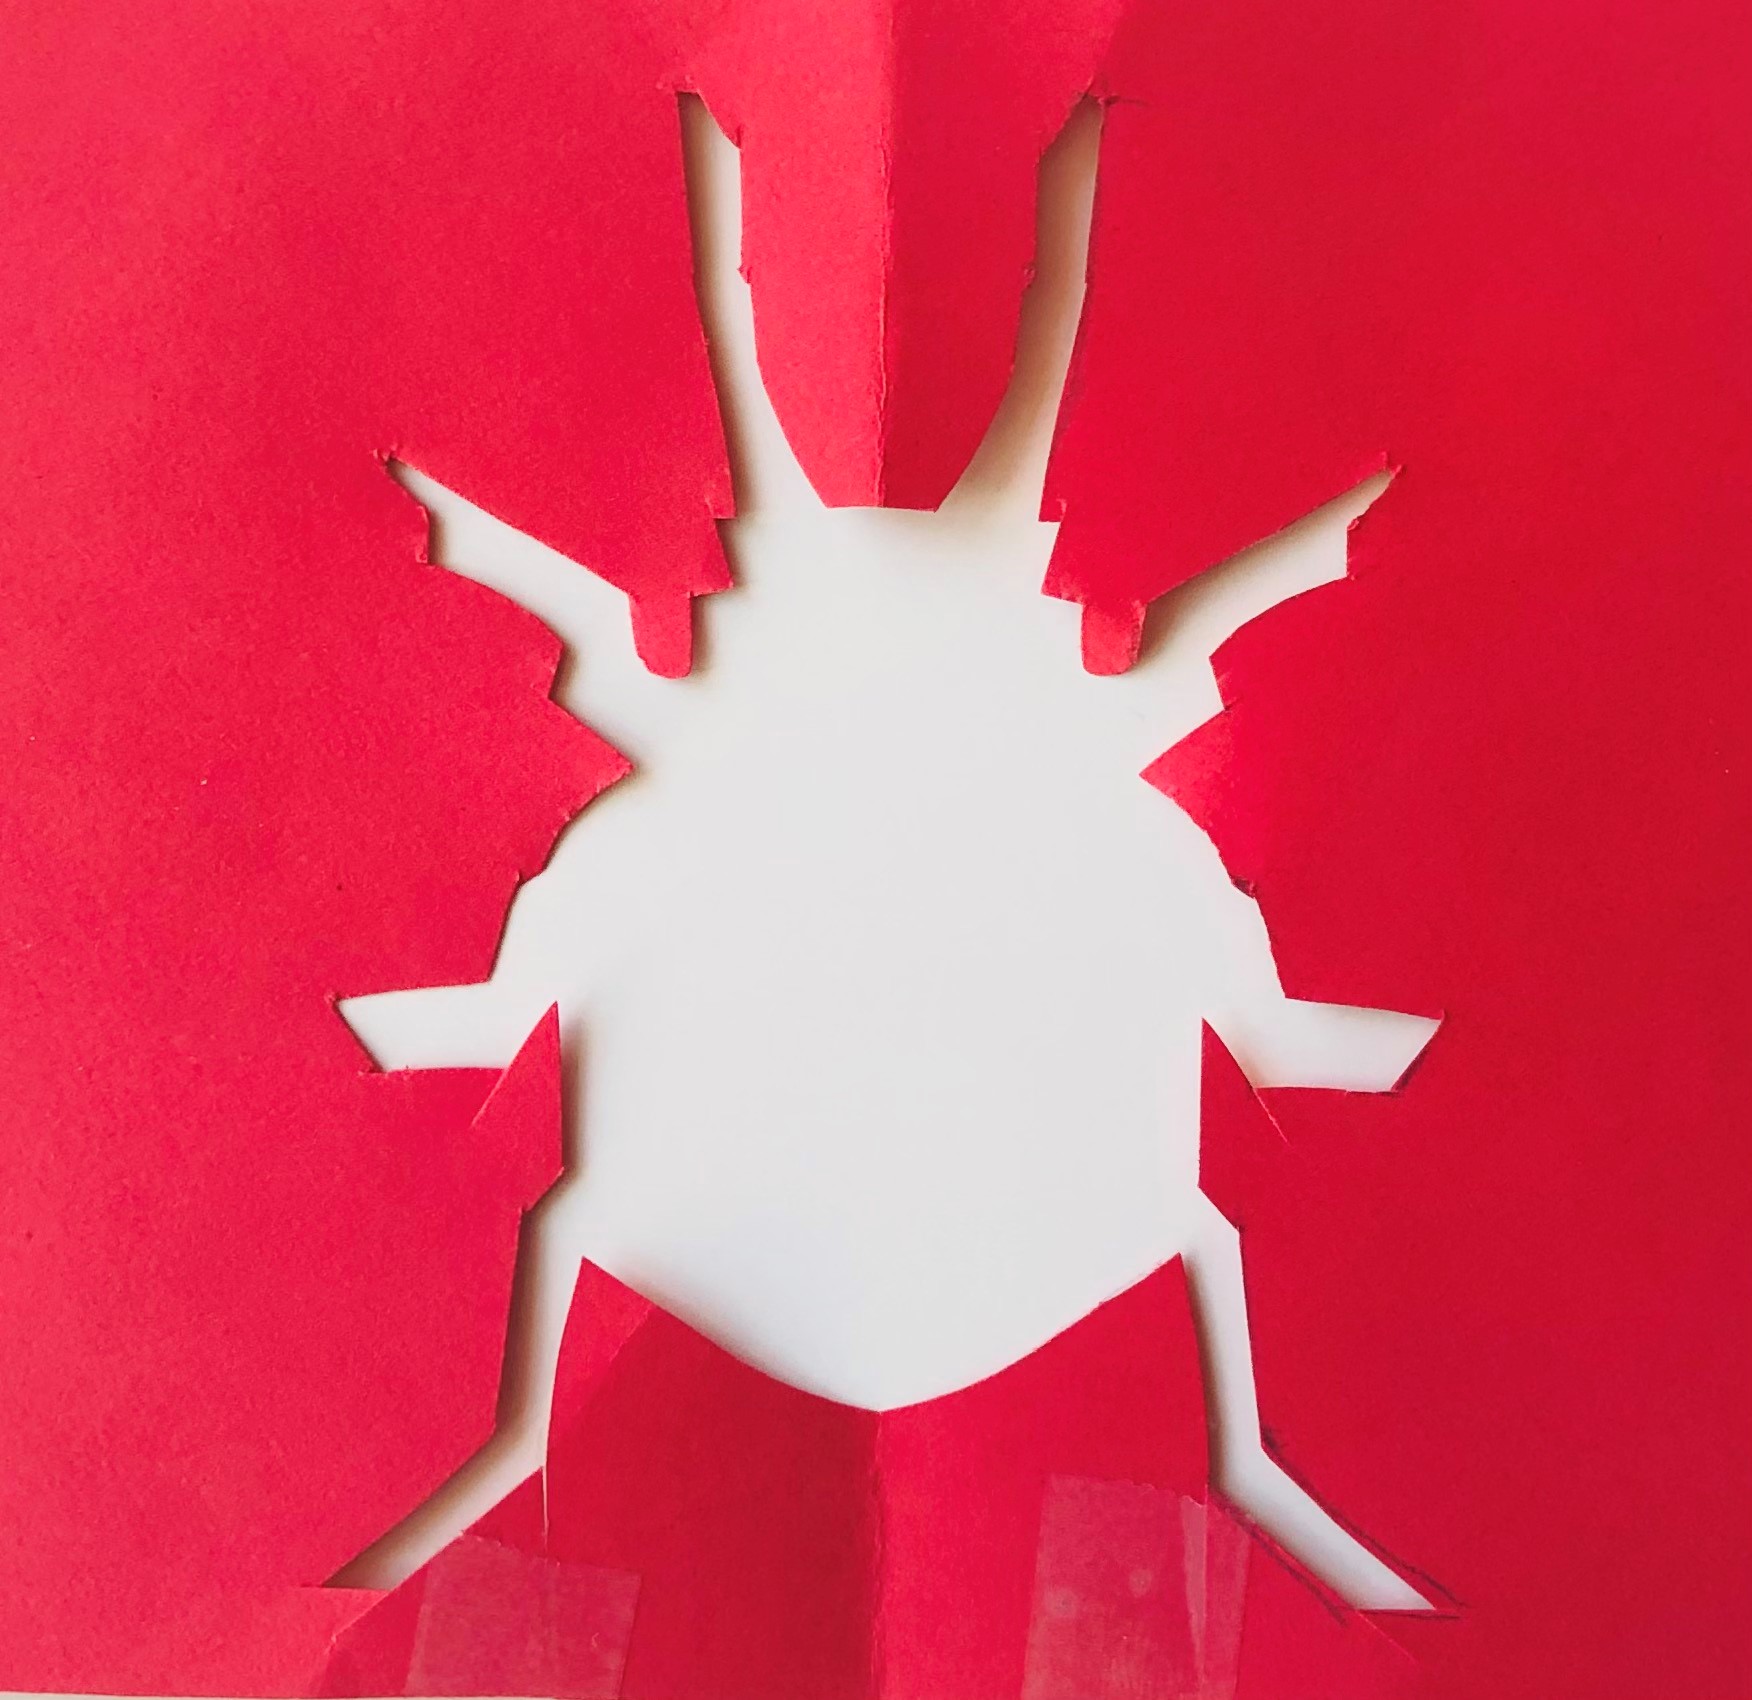
Bug Template
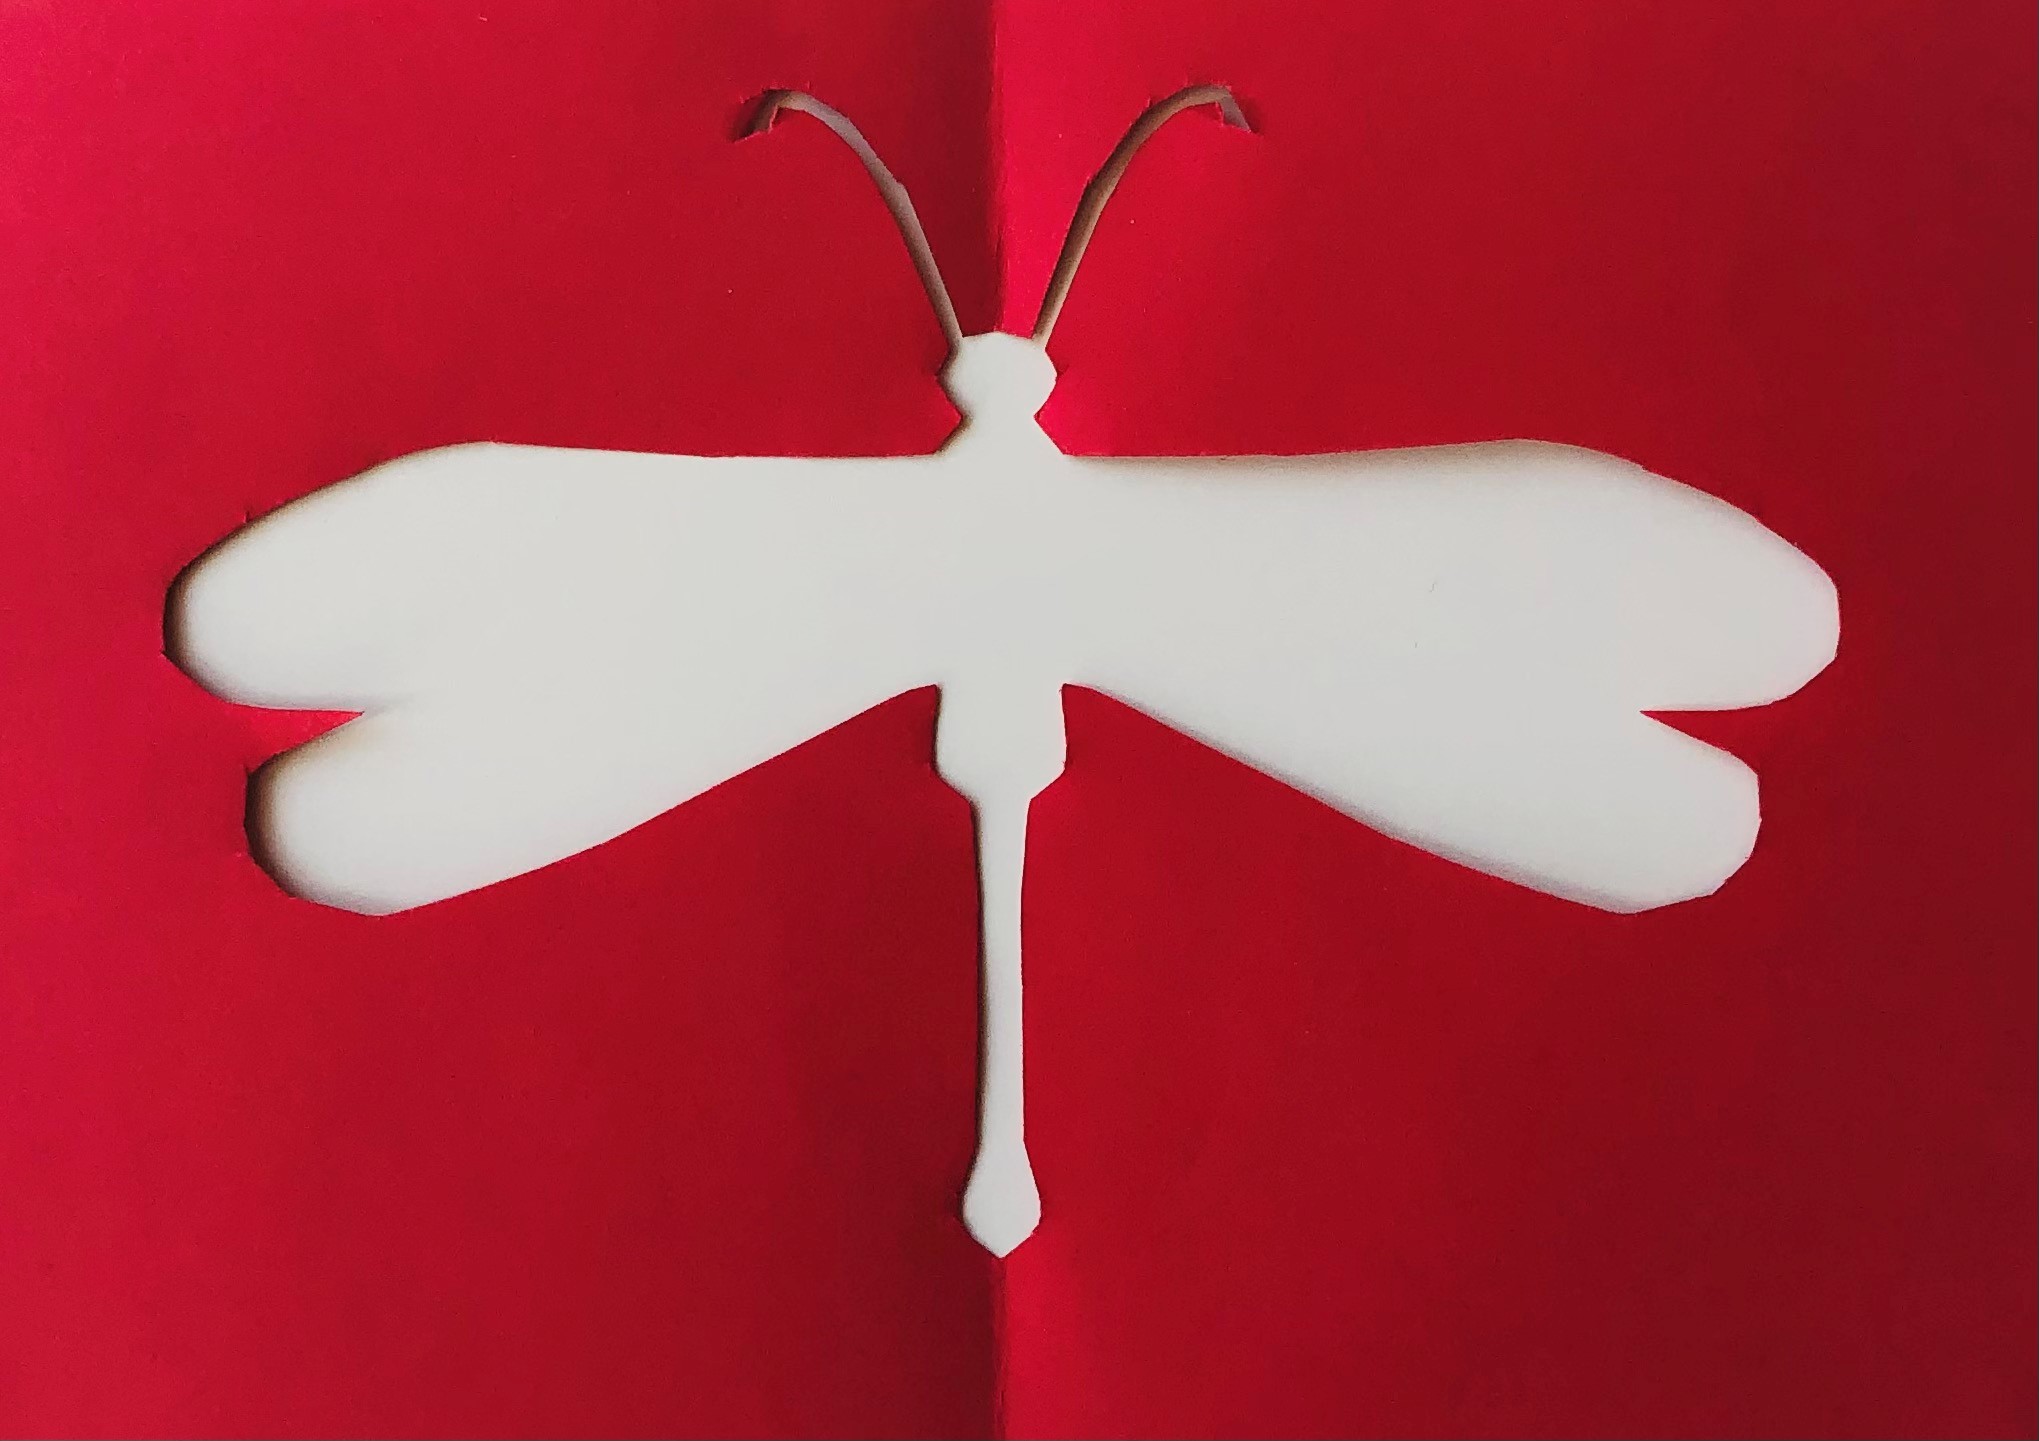
Dragonfly Template

Butterfly Template
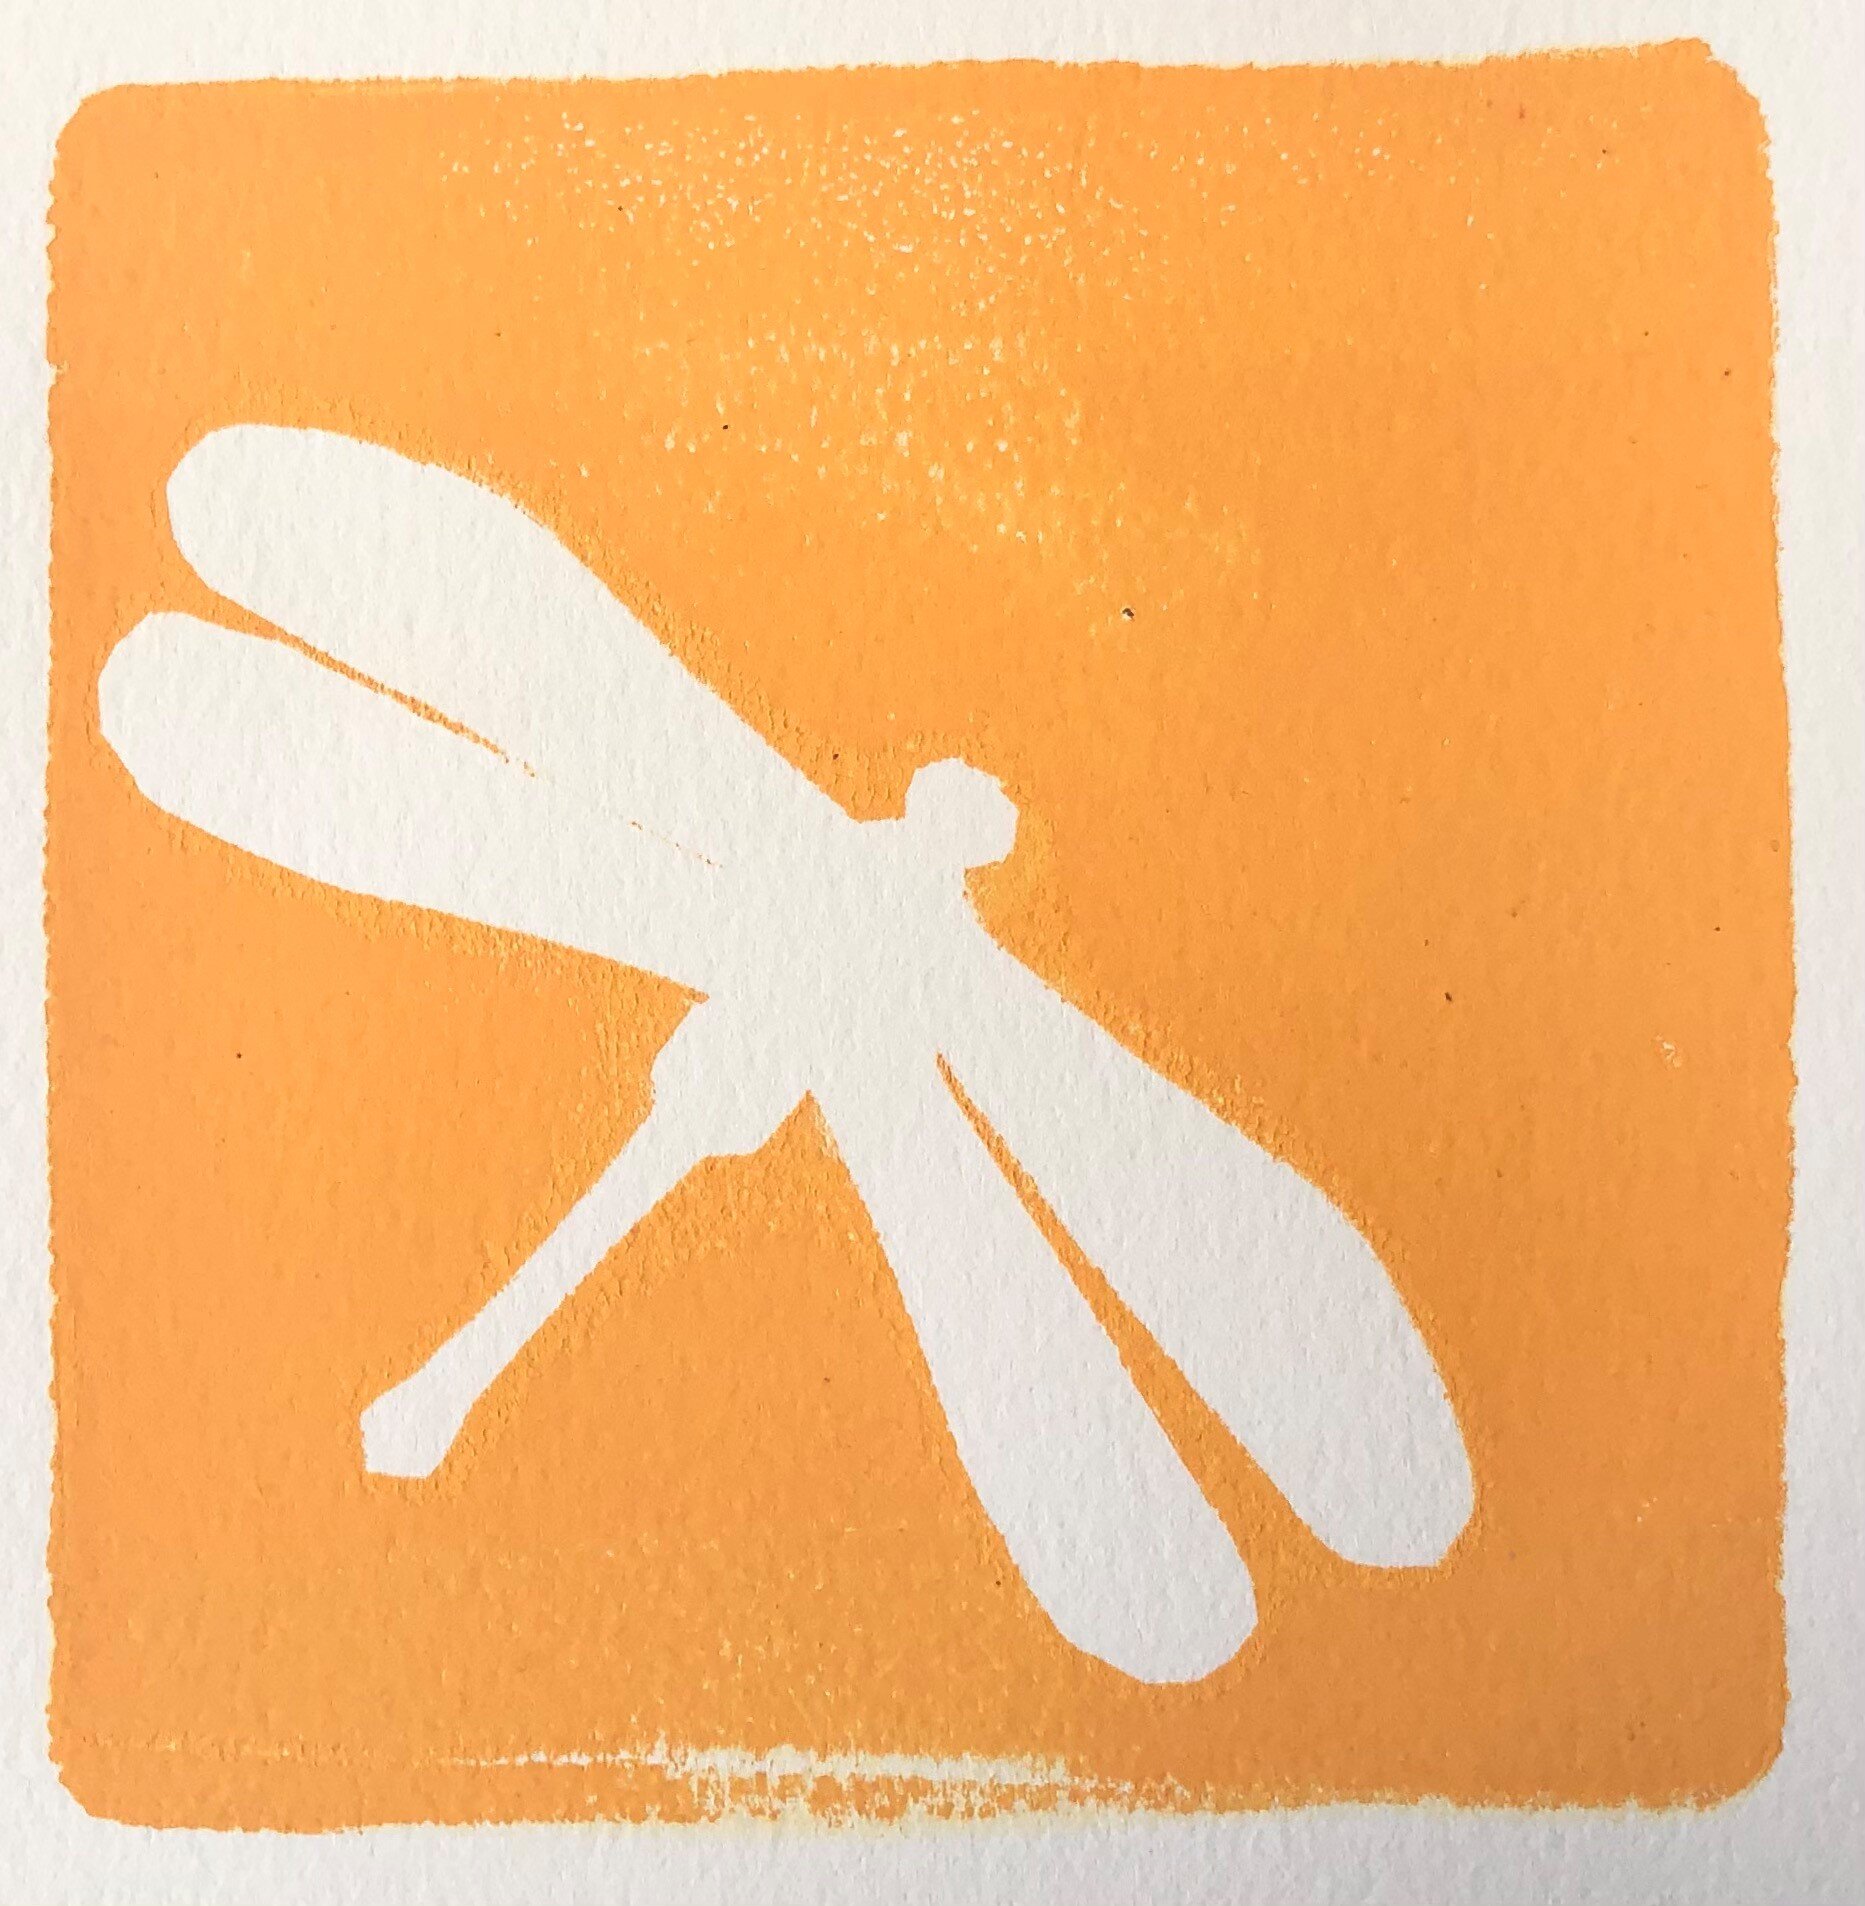
Dragonfly Print

Assemble it.
TOOLS AND MATERIALS NEEDED:
Printing paper, any type (recommend heavier weight paper)
Construction paper for cutting stencils
Pencil
Scissors
Masking tape
Glass or smooth surface for rolling out the ink
HOW TO MAKE YOUR OWN GELLI PLATE AT HOME
Ingredients:
7 packets of unflavored geletin (6 Tablespoons)
1 1/2 cups boiling water
1 1/2 cups liquid glycerin
Instructions:
In a bowl, dissolve gelatin in boiling water.
Add glycerin and stir until combined and smooth.
Pour into mold, which can be a round, square or rectangle container made of glass, metal or plastic, that does not have any design or printing on the inside surface. Recommended size: 4”-5” and no less than 1” deep.
Let cool completely.
Remove gelli plate from mold and enjoy printing.
Clean gelli plate with wet sponge or with water and paper towel after use.
Protect plate with a piece of plastic cut to size on both sides.
Store dry plate in a safe place.

Waterflight, by ALIX HITCHCOCK
Make it.
*Mke sure your parent or guardian agrees with you about the objects chosen and how you can use them to print your monotypes.
Step 1: Make a Stencil
·Find pictures of insects you would like to draw to make a stencil
·Fold a sheet of paper in half
·Draw half of the insect on the folded crease of the paper
·Use the scissors to cut it out (Save the piece you cut out)
Step 2: Charge your brayer (Roll out the ink)
·Choose 2-3 colors that will mix well
· Squeeze one color of ink onto a smooth surface
· Roll the brayer over the ink until it is smooth and even
· Charge the brayer and roll the ink onto the Gellie plate
Step 3: Place the stencil or mask on the Gellie plate
· Choose a sheet of paper and place it on top of the inked plate
· Press gently to make sure the paper is in contact with the ink
Step 4: Transfer the image to the Paper
· Rub the paper with your hand or barren (Rub the entire plate)
· Pull the print by picking up one corner and lifting the paper up
in one smooth motion (Once you start the pull do not stop or you may have an unwanted line on the print)
Step 5: Pull a Ghost Print
·If there is enough ink on the plate you can pull another print or a ghost print
·Place another sheet of paper onto the Gellie plate
· Rub the entire plate again
· Lift one corner of the print and pull the paper up in one smooth motion
Step 6: Mix the ink
·Add another color to the ink and roll with the brayer until the colors mix. Colors can be partially or completely mixed, artist’s choice
Step 7: Add more color to your prints
Artist Alix Hitchcock often uses colored pencil to add more color and texture to her prints.
·After your prints are dry choose the prints you think could use more color. Try colored pencils, crayons or oil pastels.
SHARE WHAT YOU CREATE
SNAP A PICTURE of your finished project.
POST and TAG US on social media:
Facebook: @waterworksnc
Instagram: @waterworksnc
Thank you for joining us!